Rendering 2D tiles from a tileset in a SkiaSharp game
In this part we are investigating rendering images or pictures from file and finally we will create a tile renderer. The tileset that is being rendered is from Aleksandr Makarov at itch.io.
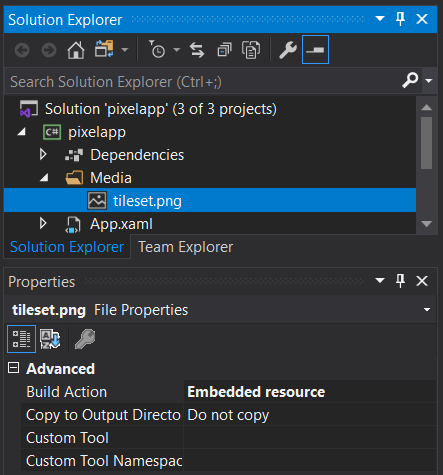
- The first step is to add the tiles png file to the solution.
- Create a folder called Media and add the png file to it.
- Right click the folder and select Add existing item. Make sure the file extension is set to any file type *.
- Then change the Build Action to
Embedded resource to make sure the image can be loaded from within the executable or package
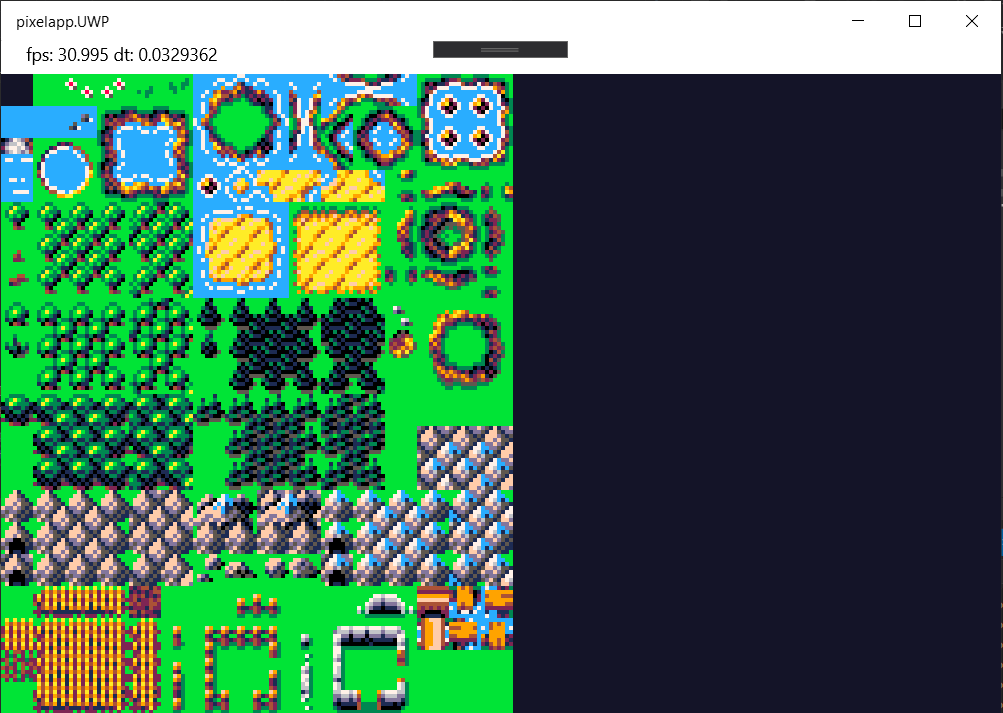
The PixelApplication class init method loads the bitmap / image from the embedded resource. The bitmap is rendered using the canvas DrawBitmap method.
This accepts a reference to the bitmap and a target rect, which determines the position and the size of the bitmap. In this case it is rendered at 4 times the original size.
    public class PixelApplication
    {
        private double width;
        private double height;
        SKBitmap tilesBitmap;
        SKRect targetRect = new SKRect(0, 0, 4*128, 4*192);

        public void Init(double w, double h)
        {
            width = w;
            height = h;

            // https://iknowkingrabbit.itch.io/mas-grass-land
            string resourceID = "pixelapp.Media.tileset.png";

            // https://docs.microsoft.com/en-us/xamarin/xamarin-forms/user-interface/graphics/skiasharp/basics/bitmaps
            Assembly assembly = GetType().GetTypeInfo().Assembly;

            using (Stream stream = assembly.GetManifestResourceStream(resourceID))
            {
                tilesBitmap = SKBitmap.Decode(stream);
            }
        }

        public void Render(SKCanvas canvas, double updateDelta)
        {
            canvas.Clear(_fillColor);

            // Render the complete tileset as a bitmap
            canvas.DrawBitmap(tilesBitmap, targetRect);
        }
    }
After this tutorial when the application starts you should see the tileset rendered. In the next part we will draw one tile of this set on the screen.