Create a game using Xamarin Forms and SkiaSharp
This is going to be a series of posts about creating a computer game with Xamarin Forms and SkiaSharp. The idea came from the wish to easily build a game for Windows and Android at the same time. Possible options were researched and I found a comparison between self building a game and creating the same game in Unity. The conclusion of that comparison was that it takes about 4 times the effort to self build. However, the performance and memory consumption was a lot better. Note, this game was hand built in C++. Here we are going to try and create a simple 2D game in the style of the OneLoneCoder videos. See the links section. The idea is to use Xamarin Forms to create the cross platform window and then use SkiaSharp to draw the 2D graphics. SkiaSharp are the C# bindings for the SKIA engine from Google for rendering graphics on a canvas. In this first tutorial we are going to create the window and set it up with SkiaSharp so it can run on Windows 10 and Android. Theoretically, it should also run on IOS but I can't test it. Note, if you like to build a game in C# you can also use MonoGame, which is a framework specially for games or use Unity. In this series we are trying to see how far we can get by just using the basic tools available for development and hopefully makes the game a little bit easier to develop then when using a full fledged framework or engine with its own learning curve.
Installing the development environment
First install Visual Studio Community edition from Visual Studio website
When installing make sure to select the right components including the Xamarin component called Mobile development with .NET. See the image below

For a more detailed video explaining the Visual Studio editor see C# course
Create project
Start Visual Studio and create a new Mobile App (Xamarin Forms).
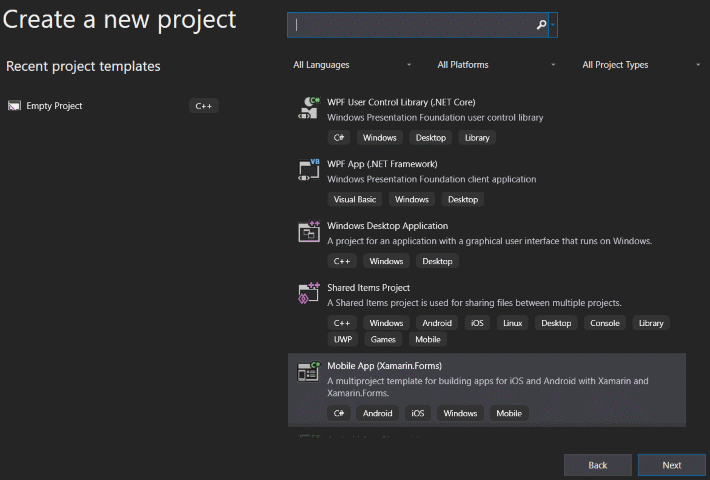
Give your app a name in this case PixelApp.
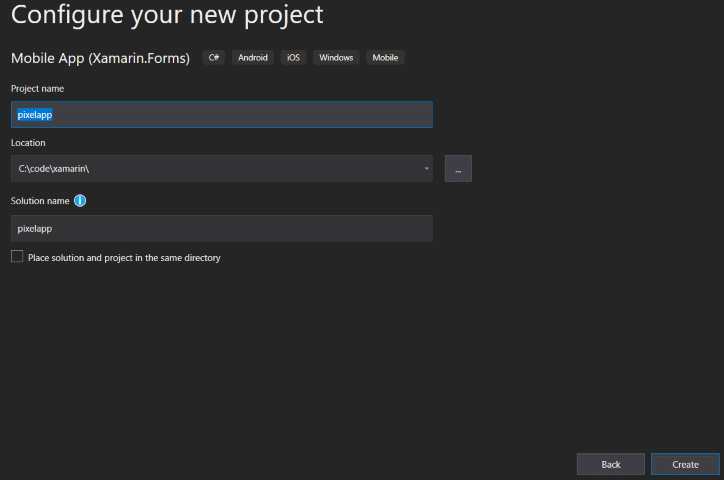
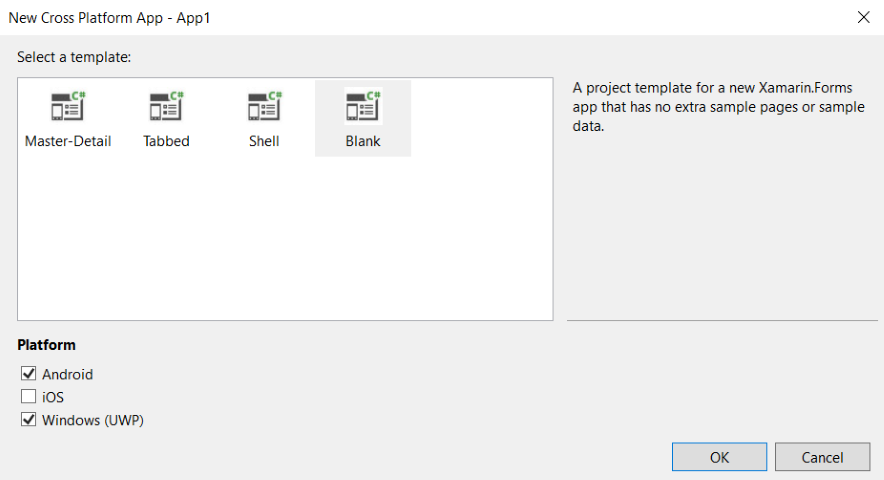
Select the blank project template and click Android and UWP. IOS is optional. It's not tested but should work.
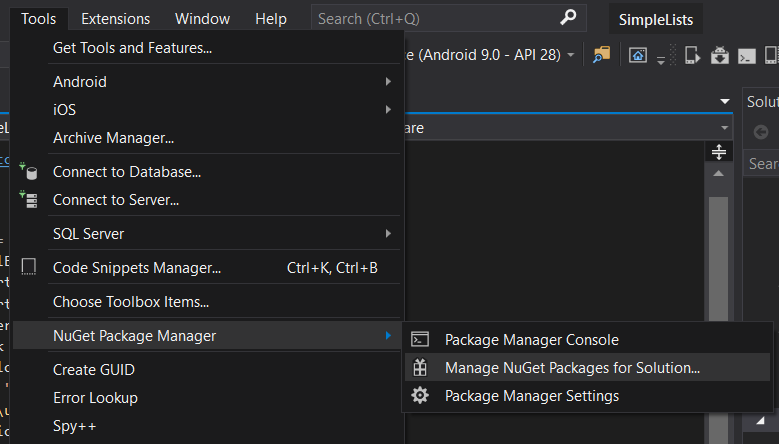
Go to Tools and then select Manage Nuget packages for solution.
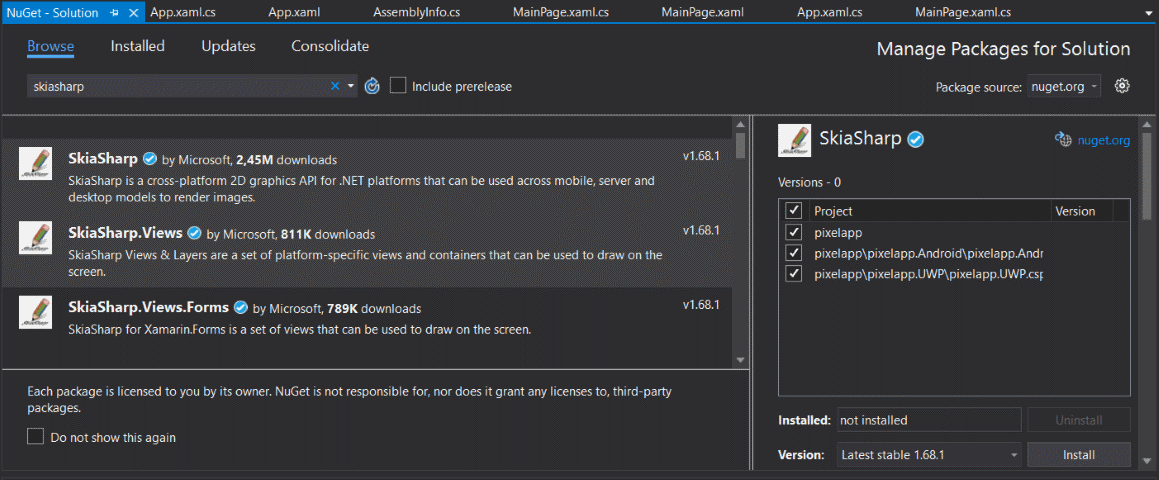
Install the latest SkiaSharp and SkiaSharp.Views Nuget packages.
Add the SKCanvasView to the MainPage.xaml.
    <Grid>
        <Grid.RowDefinitions>
            <RowDefinition Height="Auto"/>
            <RowDefinition/>
        </Grid.RowDefinitions>
        <Label x:Name="fpsLabel" HorizontalOptions="Start" VerticalOptions="Start" Margin="20,0"/>
        <forms:SKCanvasView x:Name="canvasView" Grid.Row="1" PaintSurface="OnPainting"/>
    </Grid>
Next in the MainPage.xaml.cs file the timing and drawing code is placed.
using System;
using System.ComponentModel;
using System.Diagnostics;
using Xamarin.Forms;
using SkiaSharp;
using SkiaSharp.Views.Forms;
using System.Globalization;

namespace pixelapp
{
    [DesignTimeVisible(false)]
    public partial class MainPage : ContentPage
    {
        private bool _pageActive;
        private readonly Stopwatch _stopWatch = new Stopwatch();
        private double _fpsAverage = 0.0;
        private const double _fpsWanted = 30.0;
        private int _fpsCount = 0;
        private SKColor _fillColor;
        private uint _frameCount = 0;

        public MainPage()
        {
            InitializeComponent();
        }

        protected override void OnAppearing()
        {
            base.OnAppearing();

            Init();
        }

        protected override void OnDisappearing()
        {
            _pageActive = false;

            base.OnDisappearing();
        }

        private void Init()
        {
            _pageActive = true;

            var ms = 1000.0/_fpsWanted;
            var ts = TimeSpan.FromMilliseconds(ms);

            // create a timer that triggers roughly every 1/30 seconds
            Device.StartTimer(ts, TimerLoop);
        }

        private bool TimerLoop()
        {
            // get the elapsed time from the stopwatch because the 1/30 timer interval is not accurate and can be off by 2 ms
            var dt = _stopWatch.Elapsed.TotalSeconds;

            _stopWatch.Restart();

            // calculate current fps
            var fps = dt > 0 ? 1.0 / dt : 0;

            // when the fps is too low reduce the load by skipping the frame
            if (fps < _fpsWanted/2)
                return _pageActive;

            // calculate an averaged fps
            _fpsAverage += fps;
            _fpsCount++;
            _frameCount++;

            if (_fpsCount == 20)
            {
                fps = _fpsAverage / _fpsCount;
                fpsLabel.Text = fps.ToString("N3", CultureInfo.InvariantCulture);

                _fpsCount = 0;
                _fpsAverage = 0.0;
            }

            // change the background color
            _fillColor = new SKColor((byte)(_frameCount % 128), (byte)(_frameCount % 255), (byte)(_frameCount % 64));

            // trigger the redrawing of the view
            canvasView.InvalidateSurface();

            return _pageActive;
        }

        private void OnPainting(object sender, SKPaintSurfaceEventArgs e)
        {
            var surface = e.Surface;
            var canvas = surface.Canvas;

            // clear the view with the specified background color
            canvas.Clear(_fillColor);
        }
    }
}
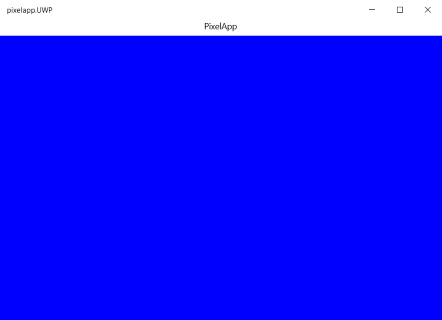
To test you can start debugging by pressing F5 or the green play button and you should see app running as in the screenshot below.
